Tiling a wall at home is a great way to personalise your space. Whether you’re going for fun and quirky or refined and elegant, tiles not only look great but are practical too. What’s more, you can easily apply wall tiles by yourself with some equipment and a bit of know-how. You get the equipment, we’ll provide the know-how, and then you can get started tiling your wall.
Tools and materials
Before you get started on your wall tiles, there are several things you’ll need.
Tools
Materials
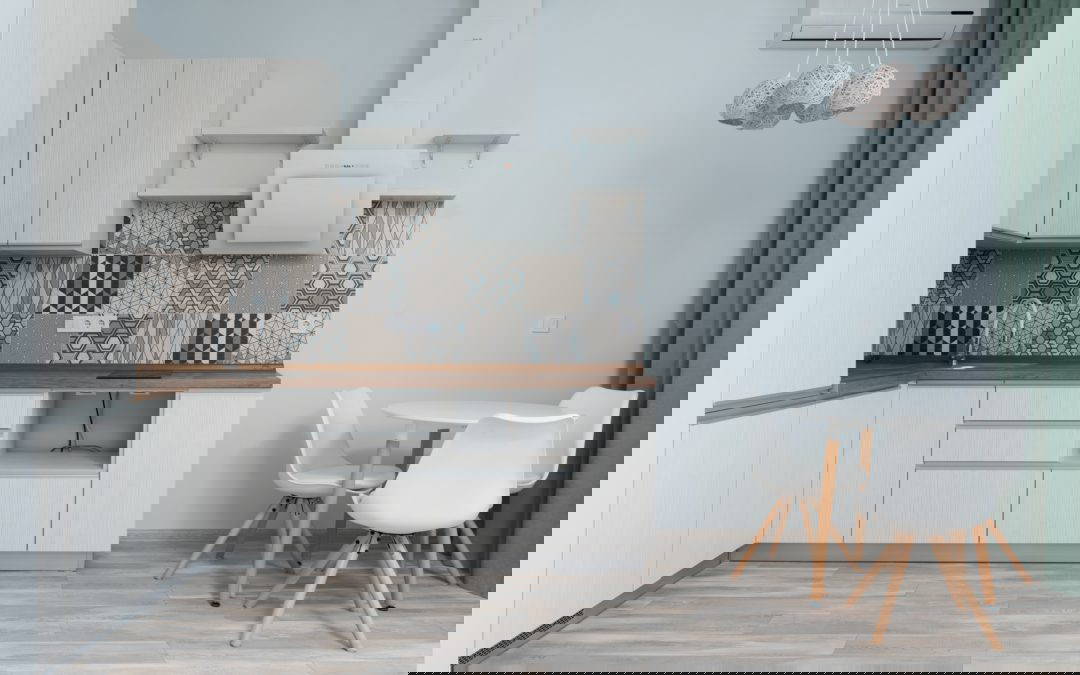
Protect your room
It’s also a good idea to cover your floor with a protective cloth or sheet so you don’t damage it with dropped cement or grout.
Prepare the wall
Before you start applying adhesive, ensure your wall is clean, dry, and dust-free. If there are any nails or other fixings in the wall, remove them and fill in any large holes. Sand away any bumps so that the wall is as flat as possible.
Depending on where you’ll applying your tiles, you may need extra preparation. For example, when tiling wet areas such as the bathroom, you’ll need a specialist waterproofing product.
Find the centre of the wall
Measure the length of the wall with a tape measure and mark the centre. Do the same with the height to find the centre of the wall, then use a spirit level to mark out a cross.
You might not want to start with the first tile directly in the centre if it means you’ll have to add very thinly cut tiles at the edge. As such, it’s best to adjust your starting point to fit the tile size.
Apply the adhesive
Mix your adhesive in a bucket following the instructions on the packet. Once it’s mixed, apply the adhesive to the wall with a notched trowel at a 45° angle. We recommend only applying a small amount (about one square metre) each time so that the adhesive doesn’t dry out. Use the notched side of the spreader to create parallel lines in the mortar, which will create a stronger support for the tiles.
Apply the tiles
Press your first tile firmly to the adhesive, making sure it’s lined up with your start point. Once it’s in place, put a tile spacer along each edge to keep them evenly distributed, then continue with the next tiles. Apply more adhesive when the first section is done until the wall is nearly finished.
Cut tiles to fit edges
You may need to cut some of the wall tiles at the edge so they fit neatly. Mark where the tile needs to be trimmed (and leave room for the spacer), then cut them with a tile cutter. If there are any visible cut edges, you can file them down for a smoother edge. Secure the edge tiles to the wall, and wash off any excess adhesive with a sponge.
Apply the grout
Now your tiles are in place, it’s time to grout. Remove the spacers, then mix the grout powder with water in a bucket.
Push the grout into the gaps between the tiles with a grout float, then use a sponge to wipe off any excess.
Seal the edges
Finally, seal the edges with a silicone sealant to get a waterproof finish. Leave for 24 hours to cure, and then enjoy the results of your hard work.
Ready to go but not sure where to get your wall tiles? Aztec Tiles specialises in sourcing collections from all around the world, from elegant marble to recycled glass. You can visit our showroom at our tile shop in Bromsgrove or browse our online shop to find your perfect design.